How to get Flash video and controls on your website
Updated: February 5, 2009 • By Lena Shore
Filed under: Tutorials, Web Development
Programs needed:
- Adobe Flash
- Adobe Flash Video Encoder
- Dreamweaver
- Convert your movie file (if needed) to a .flv (Flash Video) by using Adobe Flash Video Encoder.
- Launch the Adobe Flash Video Encoder.
- Click “Add” and find your video file.
- Click “Start Queue.” By default it will store your new video file in the same place as your old video file and give it a new .flv extension.
- Open your new .flv file with Adobe Flash.
- It will ask ask you “Where is your video file?” Since you opened the file with Flash, the file path will already be correct and you can select “Continue.”
- “How would you like to deploy your video?” is next. Choose the default “Progressive download from a web server” and select “Continue.”
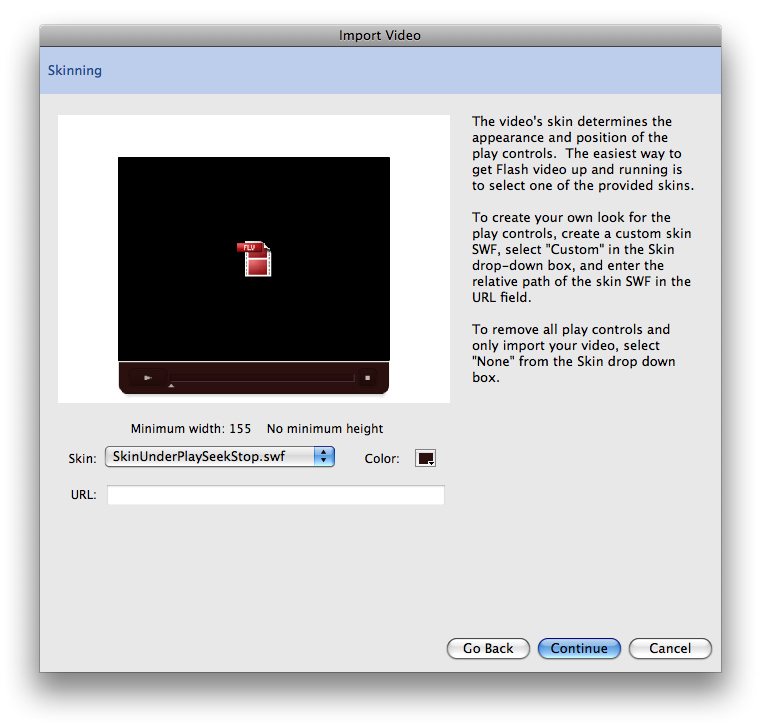
- Skinning. Choose a skin and a color. There are lots of different skins. Some show full controls and some show limited controls. Some show the controls on top of the video and other under. For this example, I will choose “SkinUnderPlaySeekStop.swf and a nice brown color to match the site. Select “Continue.”
- Select Finish.

- The default page size is usually the size of the video. So, if you add controls underneath it, they will be cropped when we export. So, the first thing we need to do it make our work space a little bigger to accommodate the new controls.
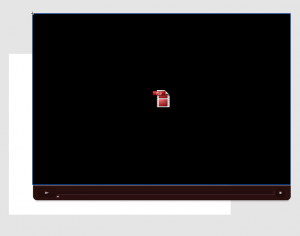
You can see that the work space is smaller than the video when I move it out of the way.
- If you select your video, you can see the width and height in the properties box below. 640 x 426
- Deselect your video or click on the gray pasteboard area. Click on the “Size” button in your properties box. Change the width to 640. Now I’ll change the the height to 426 pixels, plus 39 more pixels for the height of the contols.
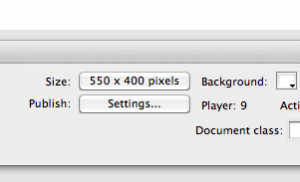
We are going to reset the size from 550 x 400 to our video size plus a little extra for the controls.
You can see in the sample below I’ve moved the video a little so you can see that the height of the video plus it’s controls match the workspace. I am also taking the opportunity to change the background color to match the the brown I’ve selected.

See the video height matches the workspace height
Now if you moved the video to check the sizing, make sure to move the video back to be centered over the workspace and go on to the next step.
- Export the video.
-
- File –> Export –> Export Movie
- Save the format as “Flash Movie” and choose the save location and click “save.”
- There are a lot of options in the next screen “Export Flash Player,” but I find the defaults work for me, so just click “OK.”
- You should have three files now. The original .flv file, the flash movie file (swf), and the controls file (swf).
-
- Open Dreamweaver to the web page you want to place the movie into.
- Put your cursor in the code where you want your movie.
- Go to: Insert –> Media –> Flash and select your flash movie file (swf). Go ahead and give it a title when prompted and click “OK.”
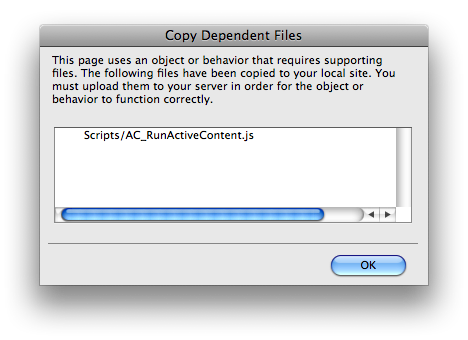
- Save your file. You may be prompted with this notification. Tell it “OK.” This will create a new folder called “Scripts” that will contain some javascript. You’ll need to upload the folder and it’s contents to your server with the other files swf and .flv files.
- Upload your files and navigate to your page to test it. If everything has been uploaded properly, you should get something like this:
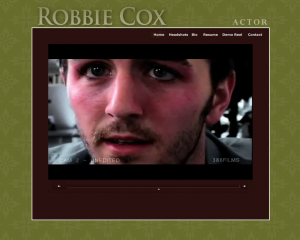 Thanks to Robbie Cox for letting me use his site as an example. Robbie is an actor and has a very nice web site… and a snazzy new demo reel with controls on the bottom!
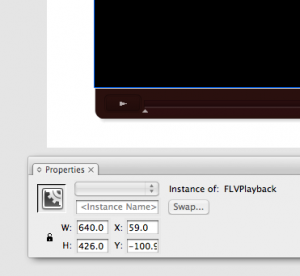
Note the width and height of the video when it is selected. This is a good starting point for adjusting our work space size.
😎
Thanks
Thanks so much, very educative
Great tip Lena! Thanks! 🙂
Super-informative site! I am loving it!! Will come back again – taking you feeds also, Thanks.
Oh thank you! Glad you are enjoying it! If you ever have a request for a tutorial or question, be sure to ask. Maybe I can do it!
:biggrin: